Prepare Printing Chamber
This chapter describes how to prepare the CERES printing chamber before a printing session.
Materials
The following materials are needed for the chamber preparation:
Working electrode
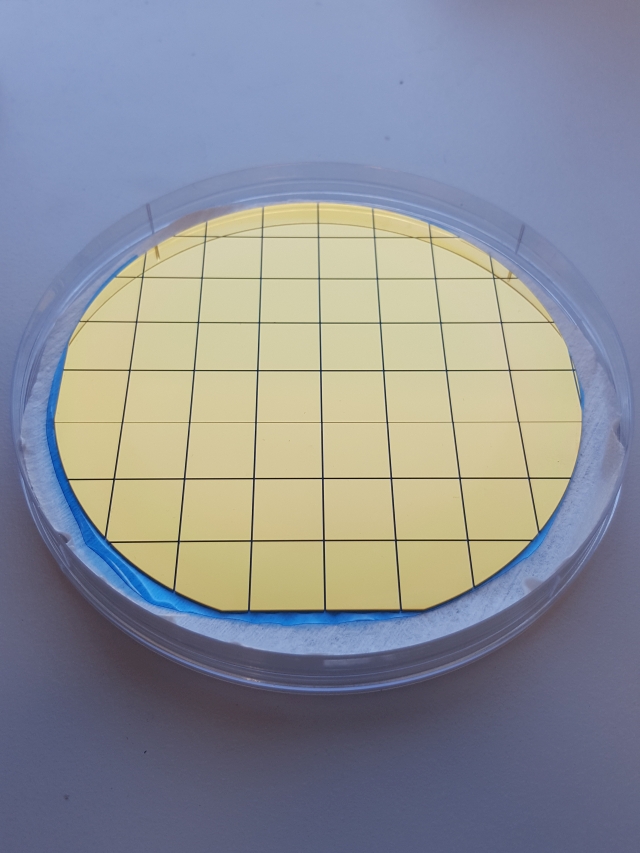
A printing substrate (15 mm x 15 mm or 25 mm x 25 mm). The image shows a substrate coated with a Ti adhesion layer and 125 nm Au on top.

Supporting electrolyte
The standard CERES supporting electrolytes can be used, or any other suitable solution.
Pasteur pipette / measuring cylinder
To measure and place/replace the supporting electrolyte into the chamber.
Chemicals
To clean the working electrode (one WE cleaning example is described here).
Clean water
Deionized water could be sufficient, but Ultrapure / type I. (ASTM D1193) water (with resistivity = 18 MΩ·cm at 25 °C) is suggested.
Chamber and substrate preparation
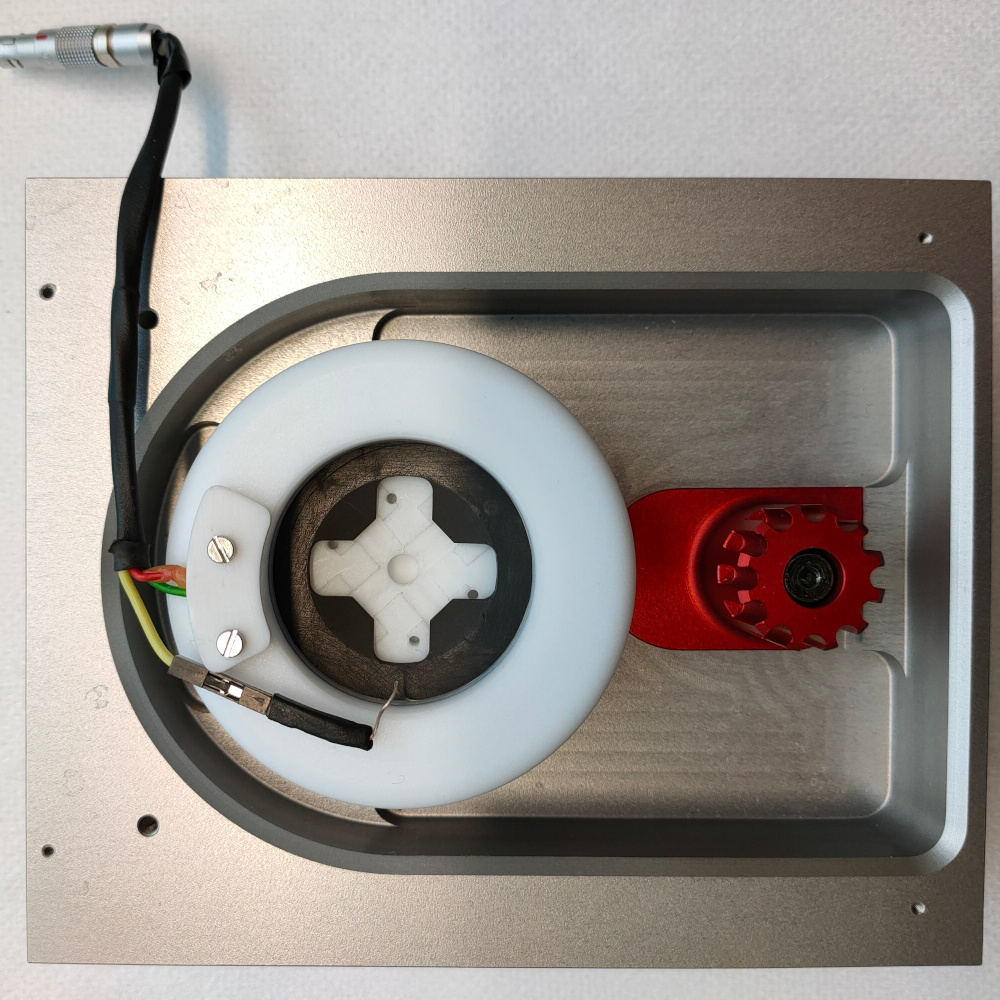
Assembling the chamber for printing
- Insert the teflon spring in the cell body with the taper facing up
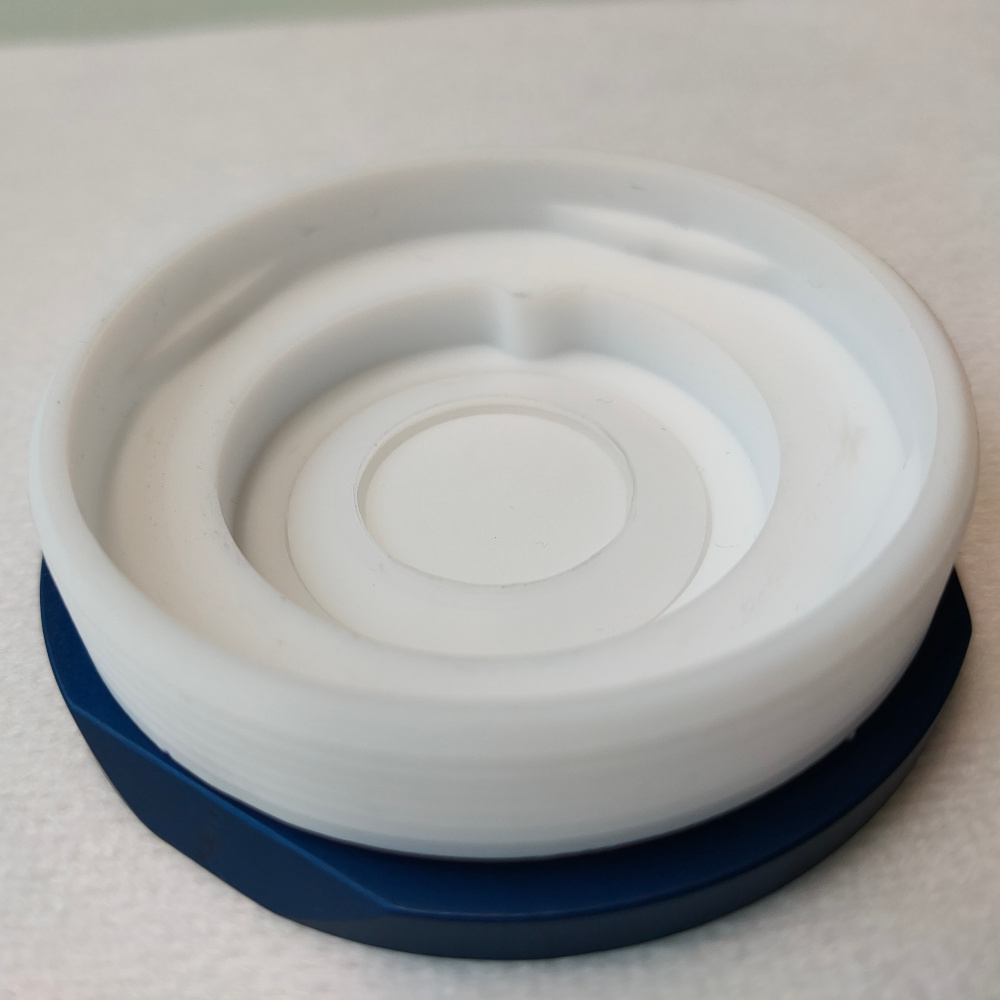
- Add the desired substrate holder making sure that it is free to rotate
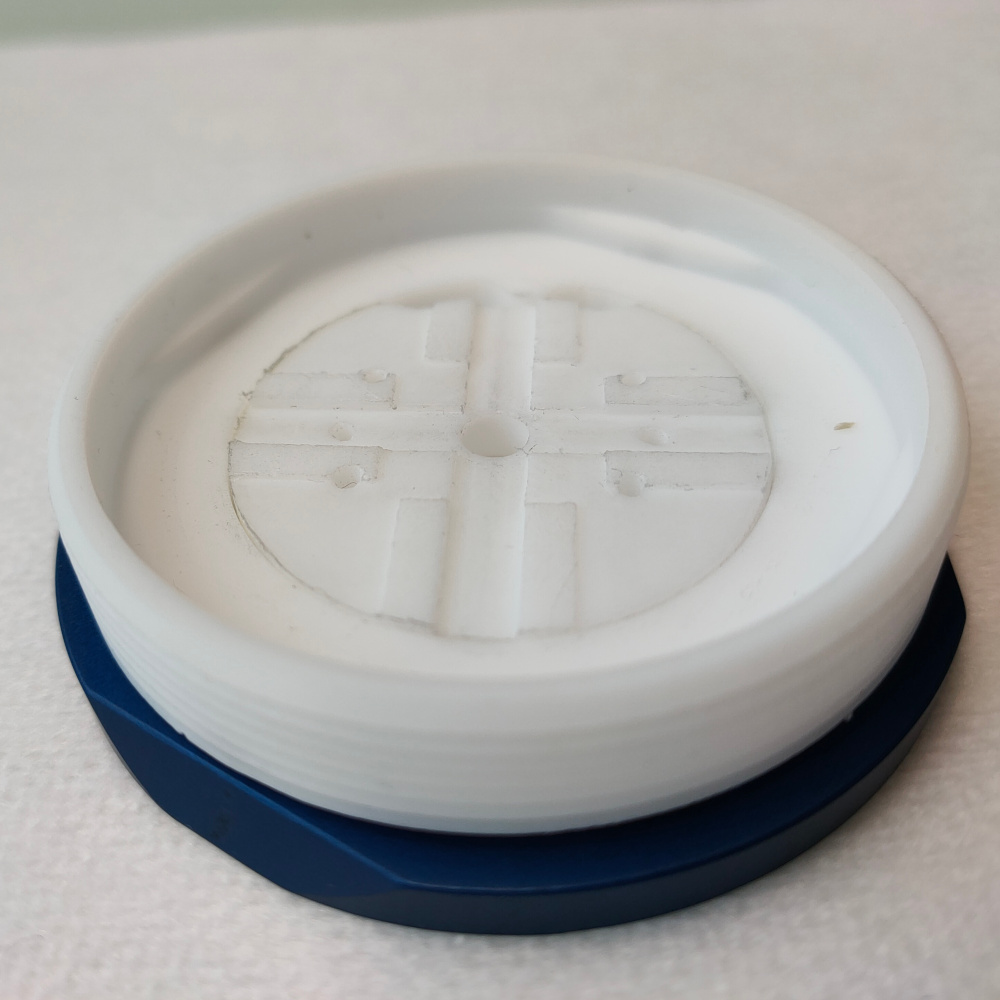
- Add the desired working electrode base with the flat surface facing down
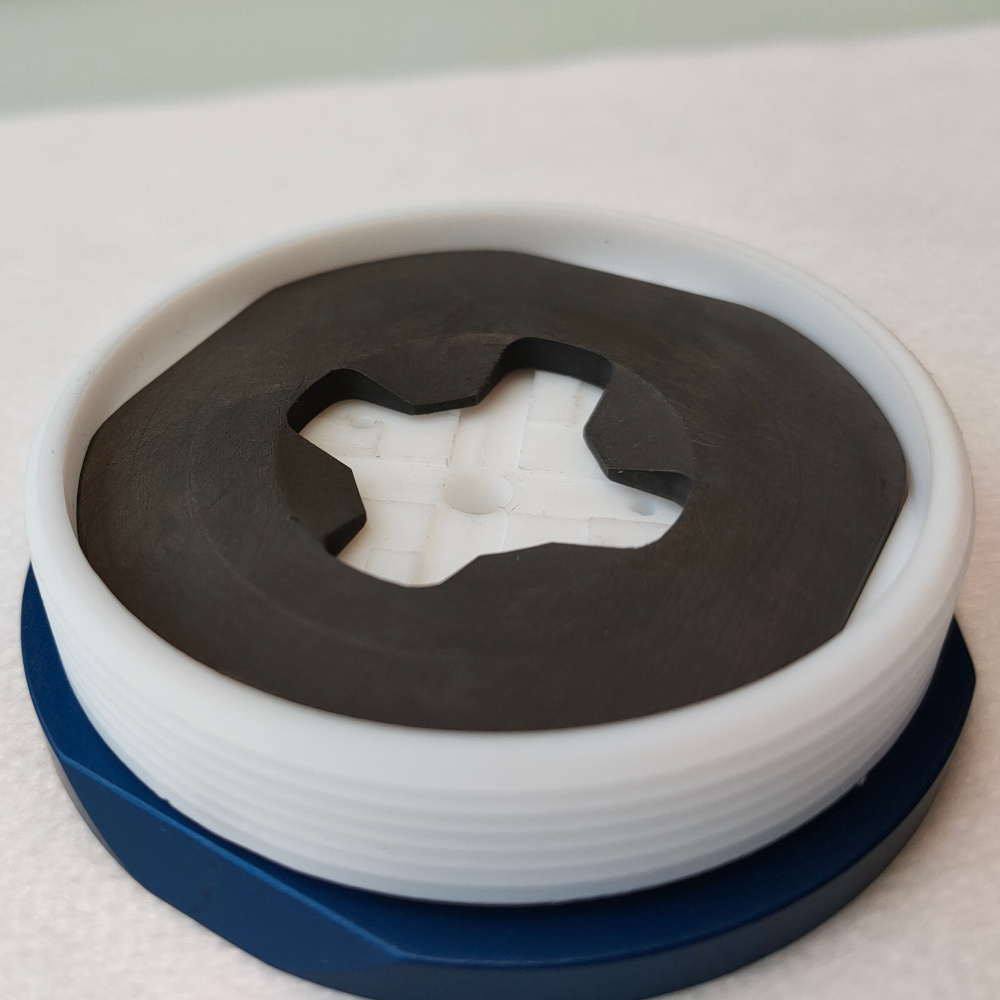
- Slide the working electrode connecting ring on the [reference electrode]../installation/accessoriesconsumables3DP.md(#reference-electrode) making sure that the graphite of the connecting ring is slightly below the teflon of the reference and insert the assembly in the chamber.
- Add the counter electrode
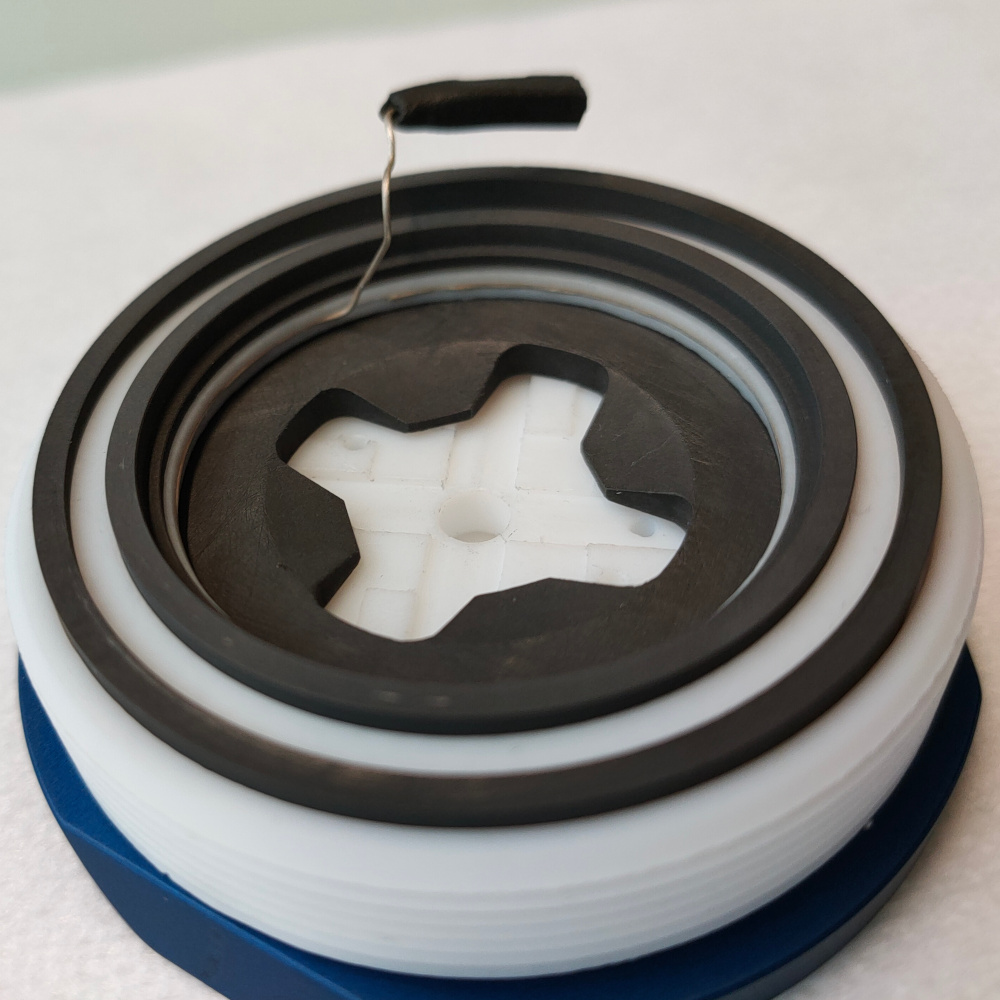
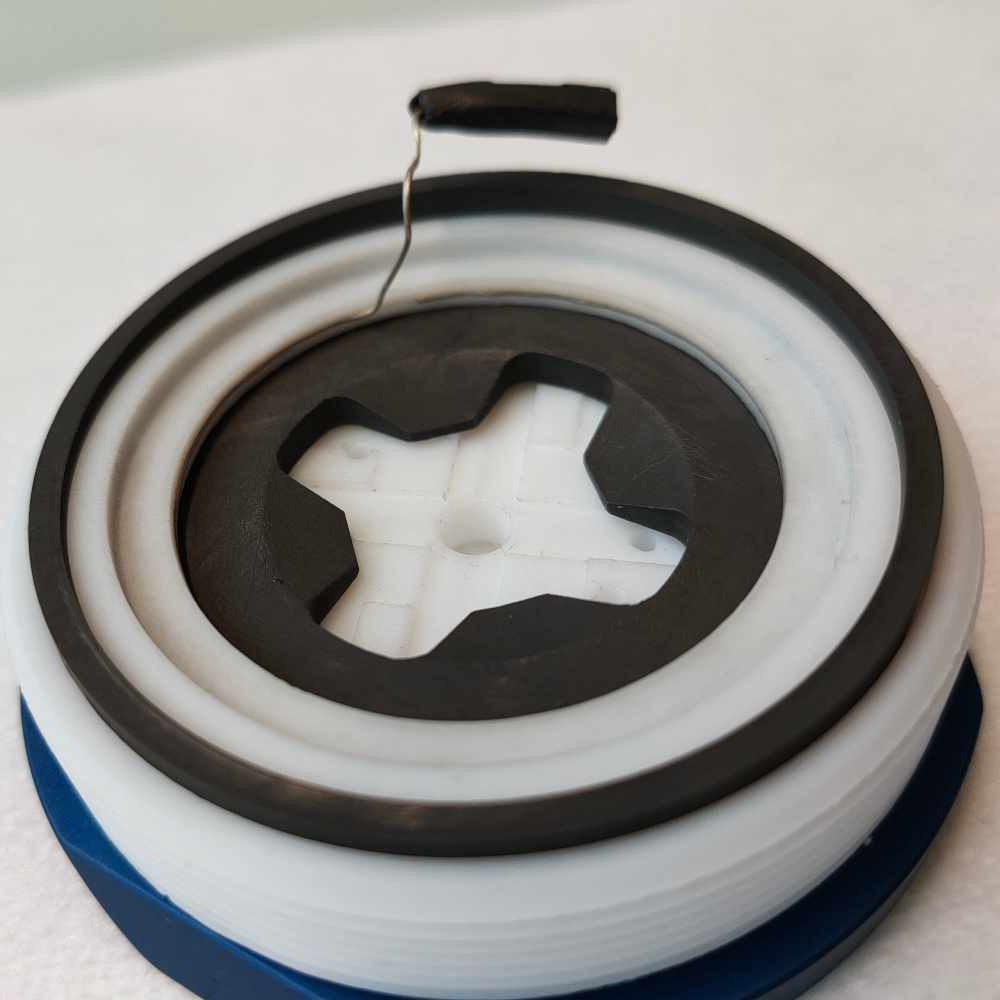
- Position the two o-rings on top of the chamber as shown making sure that the top surfaces of the graphite rings are not obstructed
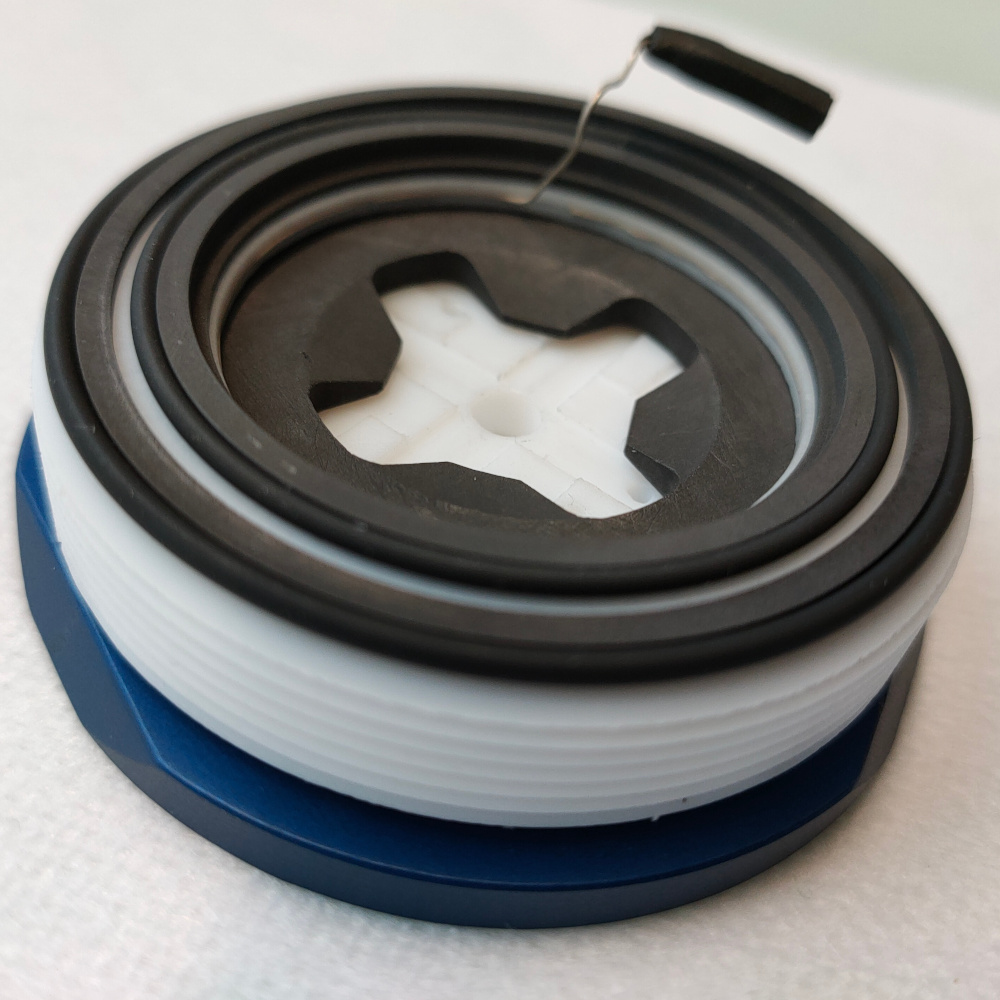
- Screw the clamping ring on top of the chamber making sure that the reference electrode connector is positioned on the right side of the cable tension relief block and flettened on the clamping ring as shown. Ensure that the silver wire is not in contact with any of the graphite pieces.
Note
The reference ring is free to rotate while screwing the clamping ring Make sure the cell is thightly screwed so that o-ring are being compressed
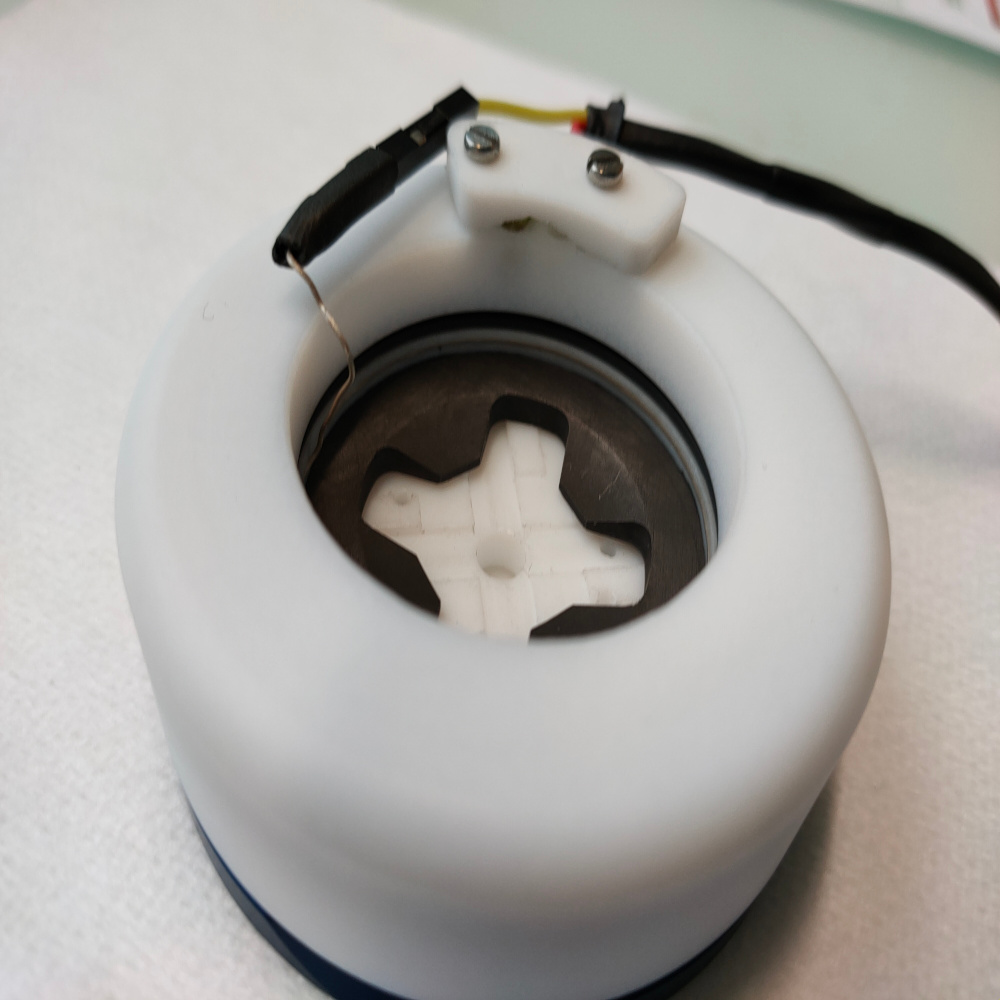
- Slide the assembled chamber in the base plate as shown (connector on the external side of the plate) and engage the locking mechanism
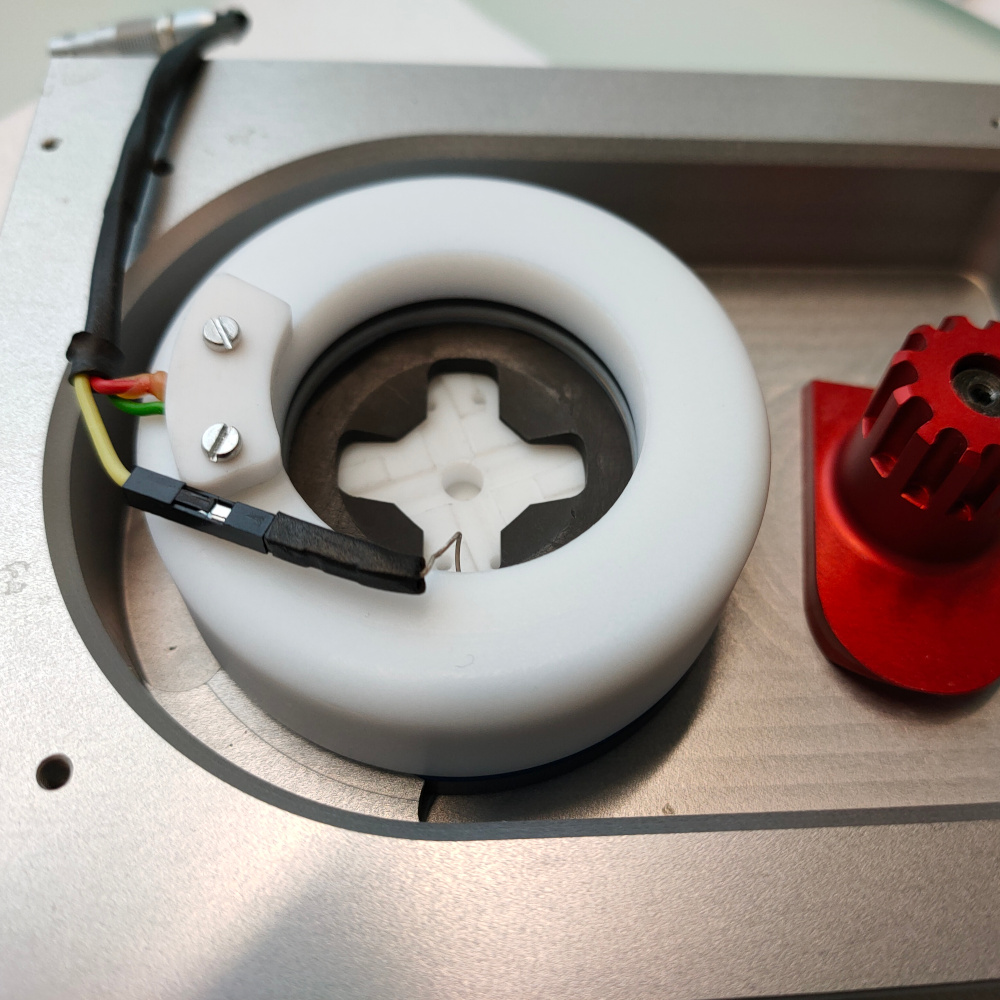
- Place the base plate with the chamber in the XY stage sled and connect the lemo plug
Applying potential
-
Fill up the chamber with approx. 10-12 ml of the chamber solution. The liquid level should be 1 to 2 mm higher than the counter electrode. Be aware of evaporation for prints of many hours.
-
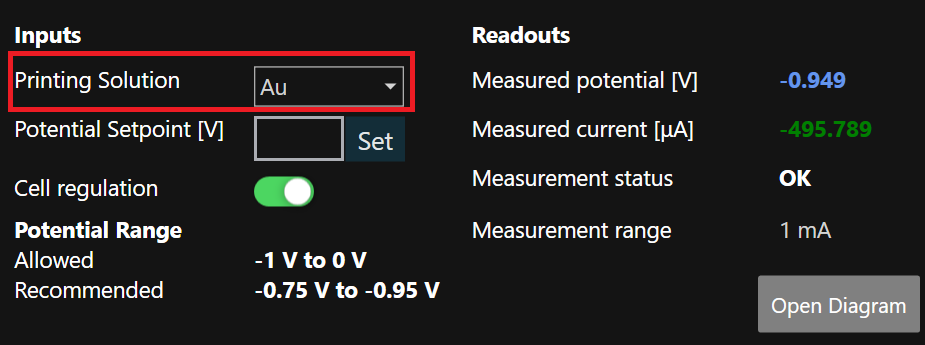
If not already open, open the potentiostat tool and select the intended printing solution.
- Set the potential to the required value.
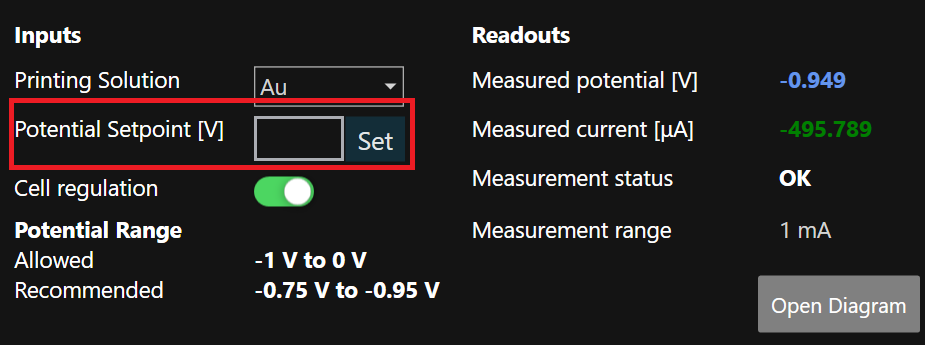
- The potential should quickly reach the desired value. The current will slowly stabilize over the course of 5 to 10 minutes. It is advisable to wait at least 5 minutes before starting a print.
What is a good value of current?
While a correct value of potential is necessary for the metal deposition to occur, the current necessary to apply that potential can vary a lot depending on many experimental and environmental variables. For this reason, it is impossible to define a good value of current, and only some lose ranges can be given.
The following orders of magnitude apply:
| Current (order of magnitude) [μA] | Time interval |
|---|---|
| (-)10000 - (-)1000 | 0 - 5 min |
| (-)1000 - (-)100 | > 5 min |
| (-)100 | stable value |
What is a bad value of current?
A faulty connection will result in abnormaly low values of current. Anything absolute magnitude (either negative or positive) of < 10 μA is considered too low for printing.
Substrate Preparation
This chapter is an example protocol for cleaning a gold substrate. Other substrate materials can be used and they may require their own substrate cleaning processes.
- Take one of the previously diced gold coated wafer pieces with a tweezer from the wafer holder
-
Rinse with acetone from a wash bottle (to remove the protective photoresist and to dissolve the majority of the organic contaminations from the surface)
-
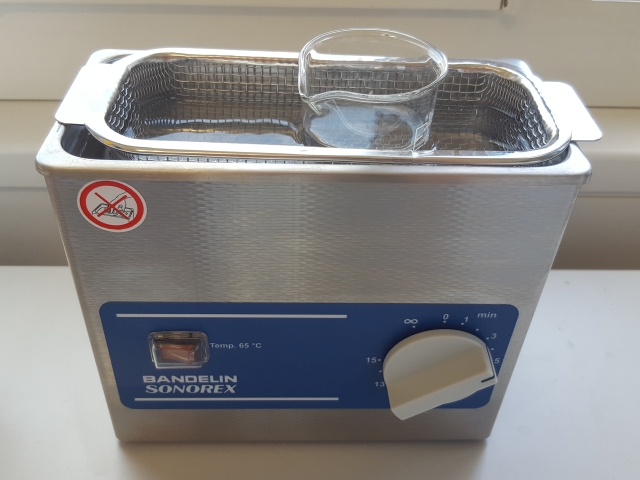
Place inside a beaker of acetone and sonicate it for at least three minutes
- Rinse the substrate with isopropanol from a wash bottle
- Place inside a beaker of isopropanol and sonicate it for at least one minute
- Rinse the substrate with deionized water (ultrapure water is recommended)
- Place inside a beaker of deionized water and sonicate it for at least one minute
- Rinse with deionized water (ultrapure water is recommended)
Substrate Loading
Info
It is recommended to load the sample after filling the chamber and applying the potential.
Substrates can be inserted or swapped without the need to disassemble the chamber or, remove/disconnect it from the CERES system.
- To remove a substrate using the sample exchange tool press and rotate the substrate holder counterclockwise. Using a pair of tweezers remove the substrate from the chamber
- To insert a substrate place it in alignment with the holder (make sure the holder is in the release position: fully rotated counterclockwise) and press and rotate with the tool clockwise. The substrate corners should be directly below the graphite lobes of the working electrode base.
Chamber cleaning procedures
Before the chamber is used, make sure to rinse the inside of the chamber with deionized water to remove any dust particles.
During long printing sessions, the printing chamber solution should be replaced after 24 hours. It’s possible to simply remove the used printing chamber electrolyte with a pipette and refill the cell with fresh solution.
At the end of a printing session, the chamber should be emptied, disconnected and removed from the CERES system. The assembled chamber should be cleaned as follows:
- Rinse multiple times with deionized water.
- Fill the chamber with deionized water and let it soak for at least 1 hour.
- Remove the water, wipe the visible carbon parts with a cotton Swap to remove excess carbon particles.
- Rinse it again multiple times and let it dry.
- Store the chamber in a clean, dry and dark environment.
In case of very severe contamination, the chamber needs to be dissambled. It is not recommended as long as the printing process is working well. If necessary clean as follows:
- Rinse the chamber multiple times with deionized water.
- Disassemble the chamber.
- Immerse the carbon parts in deionized water and let them soak for 1 hour. If available, sonicate the carbon parts in deionized water.
- Afterwards, wipe down the carbon parts with paper until no black residue can be seen on the paper.
- Rinse the parts carefully with deionized water and let them dry.
- Reassemble the chamber.