Dispensing
The Dispensing workflow allows you to print parallel lines on a surface.
1. Dispensing in a nutshell
Navigate into the Dispensing workflow:
- Adjust the dispensing parameters.
- Move to the desired center position of the line grid.
- Start dispensing by clicking the OK button.
A line grid is calculated with the specified parameters. The current stage position is the center for the line grid. The lines are rotated around the center. This allows you to print the same lines at different angles in the same area. After the last line has been printed, the CERES controller moves back to the center of the grid.
The controller approaches at the start position of each line and moves to the end position while keeping the specified setpoint. Changes in Z are handled by keeping the setpoint (e.g. when the sample area is not completely flat). Afterwards, the controller retracts and moves on with the next line.
To determine the appropriate parameters, make use of the Dispensing Calibration.
2. Parameters
2.1 General
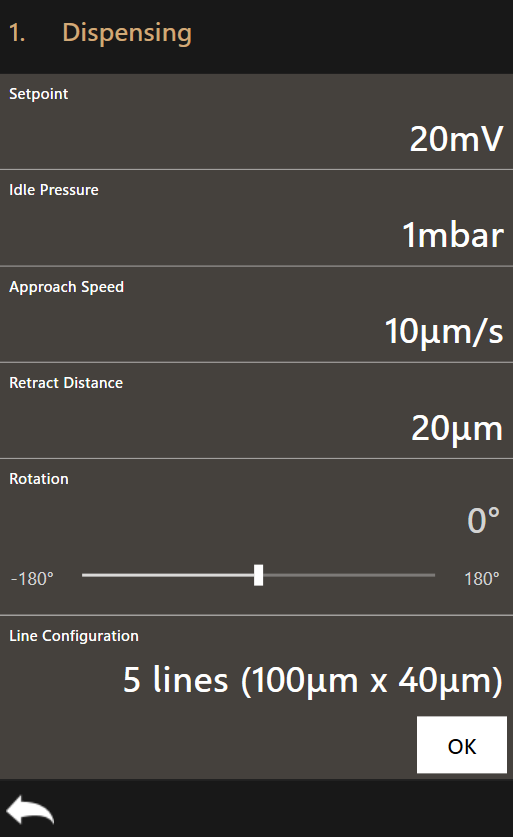
- Setpoint
- This setpoint is kept while moving from the start position to the end position of a line.
- Idle Pressure
- The idle pressure is set when the controller is approaching or moving to the next line. The default is the system-wide idle pressure.
- Approach Speed
- This speed is used to approach the start position of each line.
- Retract distance
- After a line has been printed, the controller retracts the tip before moving to the next line.
- Rotation
- All lines are rotated counterclockwise relative to the current stage position by the specified angle.
2.2 Line Configuration
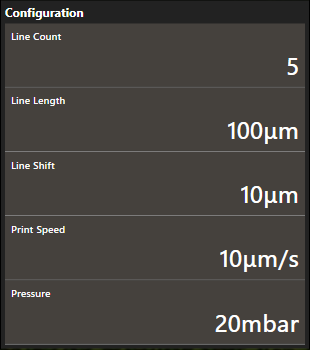
- Line Count
- The number of lines to print.
- Line Length
- The length of each line.
- Line Shift
- The distance between two parallel lines. If no rotation is applied, each line is shifted in negative Y direction by the specified value.
- Print Speed
- The speed to move from start to end position for each line.
- Pressure
- The pressure to apply while moving from start to end position for each line.